


These days, you’ll find yourself walking on various paved surfaces, commonly known as tarmac, in different colors depending on your location and the year you’re reading this. Tarmac driveways stand out as a highly economical choice for surfacing. They not only save you time and money but also contribute to environmental sustainability since they are recyclable. This is especially good news for eco-conscious individuals who strive to make a difference.
Tarmac proves to be incredibly durable against the typical weather conditions experienced in the UK, enduring hail, storms, ice, and frost with ease.
How Do We Start Working With Tarmac?
When it comes to installing tarmac, thorough research is key to achieving the best results. We’ve all heard stories about unreliable contractors who conveniently have “leftover tarmac” and happen to be passing by. It’s risky to engage in their services.
Here’s the breakdown of the components.
Step 1 – Excavation & Sub-Grade
The initial step in any driveway installation, whether it’s tarmac or another material, involves removing the existing driveway and digging down to approximately 16-18 cm deep, known as the formation level, for a standard driveway. A reputable installer understands the importance of this step and ensures that the base is prepared for long-term durability by clearing away any vegetation, tree roots, and loose topsoil. Next, the cleared surface needs to be graded to ensure efficient drainage of surface water once the new tarmac is laid, typically by sloping it slightly to the sides or bottom. Once the slope is established, the ground is compacted to create the subgrade.
In some cases, the installer may include a woven membrane at this stage, especially if deemed necessary. This membrane helps prevent weed growth and reduces the risk of the driveway sinking. It’s more commonly used in larger areas like car parks to reinforce the driveway base.
It might be feasible to lay new tarmac over existing tarmac or concrete without excavation, depending on the condition of the existing surface. However, successful bonding of the new tarmac to the existing one is essential for this method to work effectively.
The new driveway area must also be edged to ensure the tarmac’s longevity. Without proper edging, the tarmac is prone to failure after repeated use.
Step 2 – Sub-Base
Once the subgrade is compacted, with or without the woven membrane, it’s covered with crushed hardcore, typically consisting of coarse and jagged rocks. The quantity and size of the hardcore depend on the soil type and the installer’s preference. This layer serves as the load-bearing foundation, so it’s crucial to get it right. It’s rolled and compacted to ensure the correct height for your driveway. The sub-base also plays a vital role in drainage, ensuring excess water drains away from your new driveway.
Step 3 – Binder
The binder layer is another load-bearing component, approximately 4cm to 5cm thick. Smaller aggregate is often used for residential projects to achieve a smoother finish. Generally, the larger the aggregate, the stronger the driveway, but your installer will determine the appropriate size based on the expected traffic on your driveway.
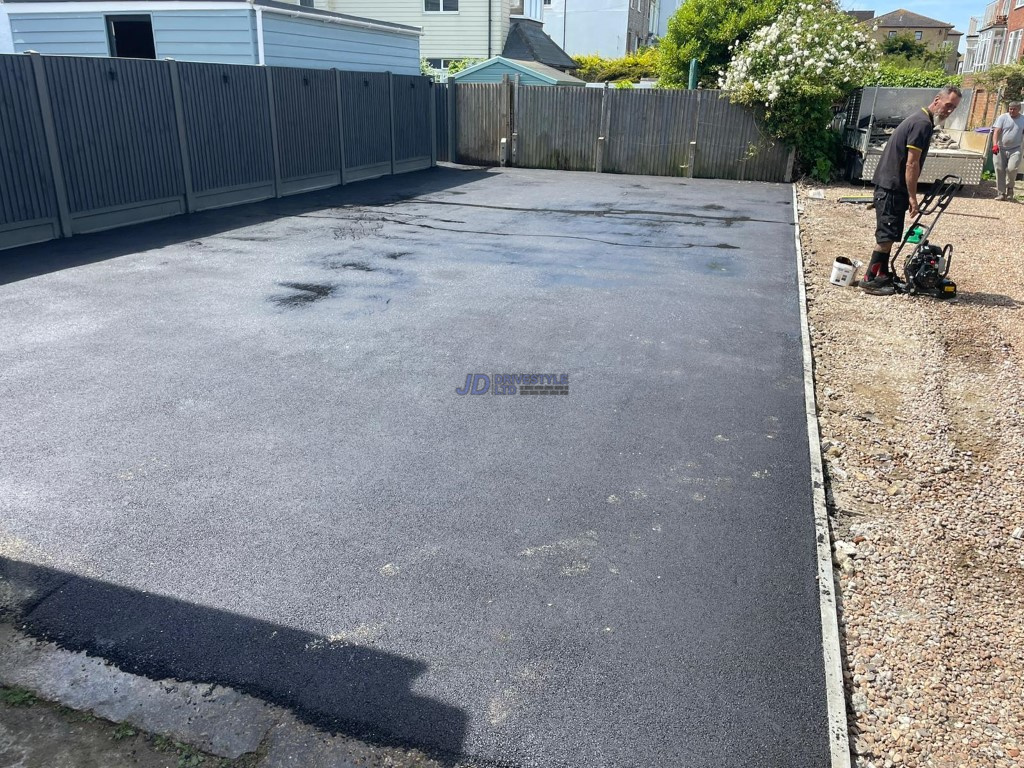
Step 4 – Surface & Finish
The final layer, known as the surface or wearing course, consists of smaller grains of aggregate, typically around 6mm to 10mm, suspended in a bitumen or asphalt binder. The tarmac is initially laid roughly onto the prepared surface and then leveled out using rakes. Once leveled, a roller is employed to compact the top layer.
Tarmac sets rapidly, usually within an hour (depending on weather conditions). However, for optimal performance, it’s recommended to wait 48 hours before driving on it. During the initial week or so, it’s important to avoid turning the wheels while the car is stationary to prevent disturbing the alignment.
In the future, if your tarmac drive needs refreshing, applying a ‘skim’ rather than a complete re-laying can rejuvenate it. This process, known as an overlay, can be discussed with your installer to determine if it’s suitable for achieving your desired driveway.
Advantages Of Tarmacking On Concrete
Tarmacking on top of concrete offers several benefits. Many residential roads in the UK have been tarmacked over existing concrete to create a smoother and more visually appealing surface, enhancing safety for residents.
During such projects, contractors must consider the optimal thickness of the layer to ensure durability and meet safety standards. Key questions like whether tarmac can be laid over concrete, how to do it, and the ideal thickness need to be addressed to ensure the structure’s safety and longevity.
To enhance surface quality when laying tarmac on existing concrete, measures such as applying a bitumen primer and using asphalt-grade aggregate are crucial, especially if there are existing cracks. This level of preparation ensures maximum adhesion between the layers and prevents future potholes caused by water ingress into gaps resulting from improper installation.
Disadvantages
Concerns arise regarding tarmacking on top of concrete due to the increased risk of cracking. The additional weight of the tarmac coupled with its lack of flexibility can cause the underlying concrete to fracture. Moreover, inadequate installation may lead to moisture damage, as improper sealing allows water infiltration, exacerbating structural issues.
Cracking
- Trouble Bonding: Tarmac might not stick well to concrete if it’s not prepared properly, leading to cracks.
- Weak Concrete: If the concrete is weak, it can break down quickly under the weight of the tarmac, causing more cracks.
Moisture Damage
- Water Damage: Water can seep into cracks in the concrete, wearing it away and causing more cracks.
- Waterproofing: Adding a waterproof layer under the tarmac helps stop water from damaging the concrete.
Preparation And Considerations
Before tarmacking over ready mix concrete, thorough preparation and considerations are imperative. Surface preparation involves removing dirt, dust, and debris using a power washer or wire brush. Filling cracks and imperfections with suitable products before tarmac application is essential. Additionally, eliminating vegetation prevents potential problems in the future. Careful planning and understanding of local conditions are crucial to achieving satisfactory results without encountering complications later on.
On An Ending Note
While tarmacking on concrete presents its challenges, proper preparation and attention to detail can mitigate potential issues. By addressing concerns such as cracking and moisture damage through effective bonding and waterproofing methods, the longevity and durability of tarmacked surfaces can be enhanced.
For reliable materials and support throughout your tarmacking projects, consider partnering with reputable Concrete Suppliers. Their expertise and quality products can ensure the success and longevity of your concrete-tarmacking endeavors, paving the way for smoother, safer, and more resilient surfaces.
Related article: frolicbeverages